Flat Overcorrection and ZWO EFW Light Leak
Flat Overcorrection and ZWO EFW Light Leak
Last week I swapped out my 6200MC for its monochrome sibling. As part of that I took the opportunity to make a few more changes to the setup:
- Swapped in Chroma 3nm narrowband filters (no more L-eXtreme halos!)
- Removed my OAG as I’m using direct guiding
- Swapped in a Gerd Neumann M68 CTU
Got a good night of imaging on M42 to test it out (a few hours total integration time, faster exposures) and everything seemed well. I figured I would collect a week’s worth of data on Rosette to give it a real spin and then..
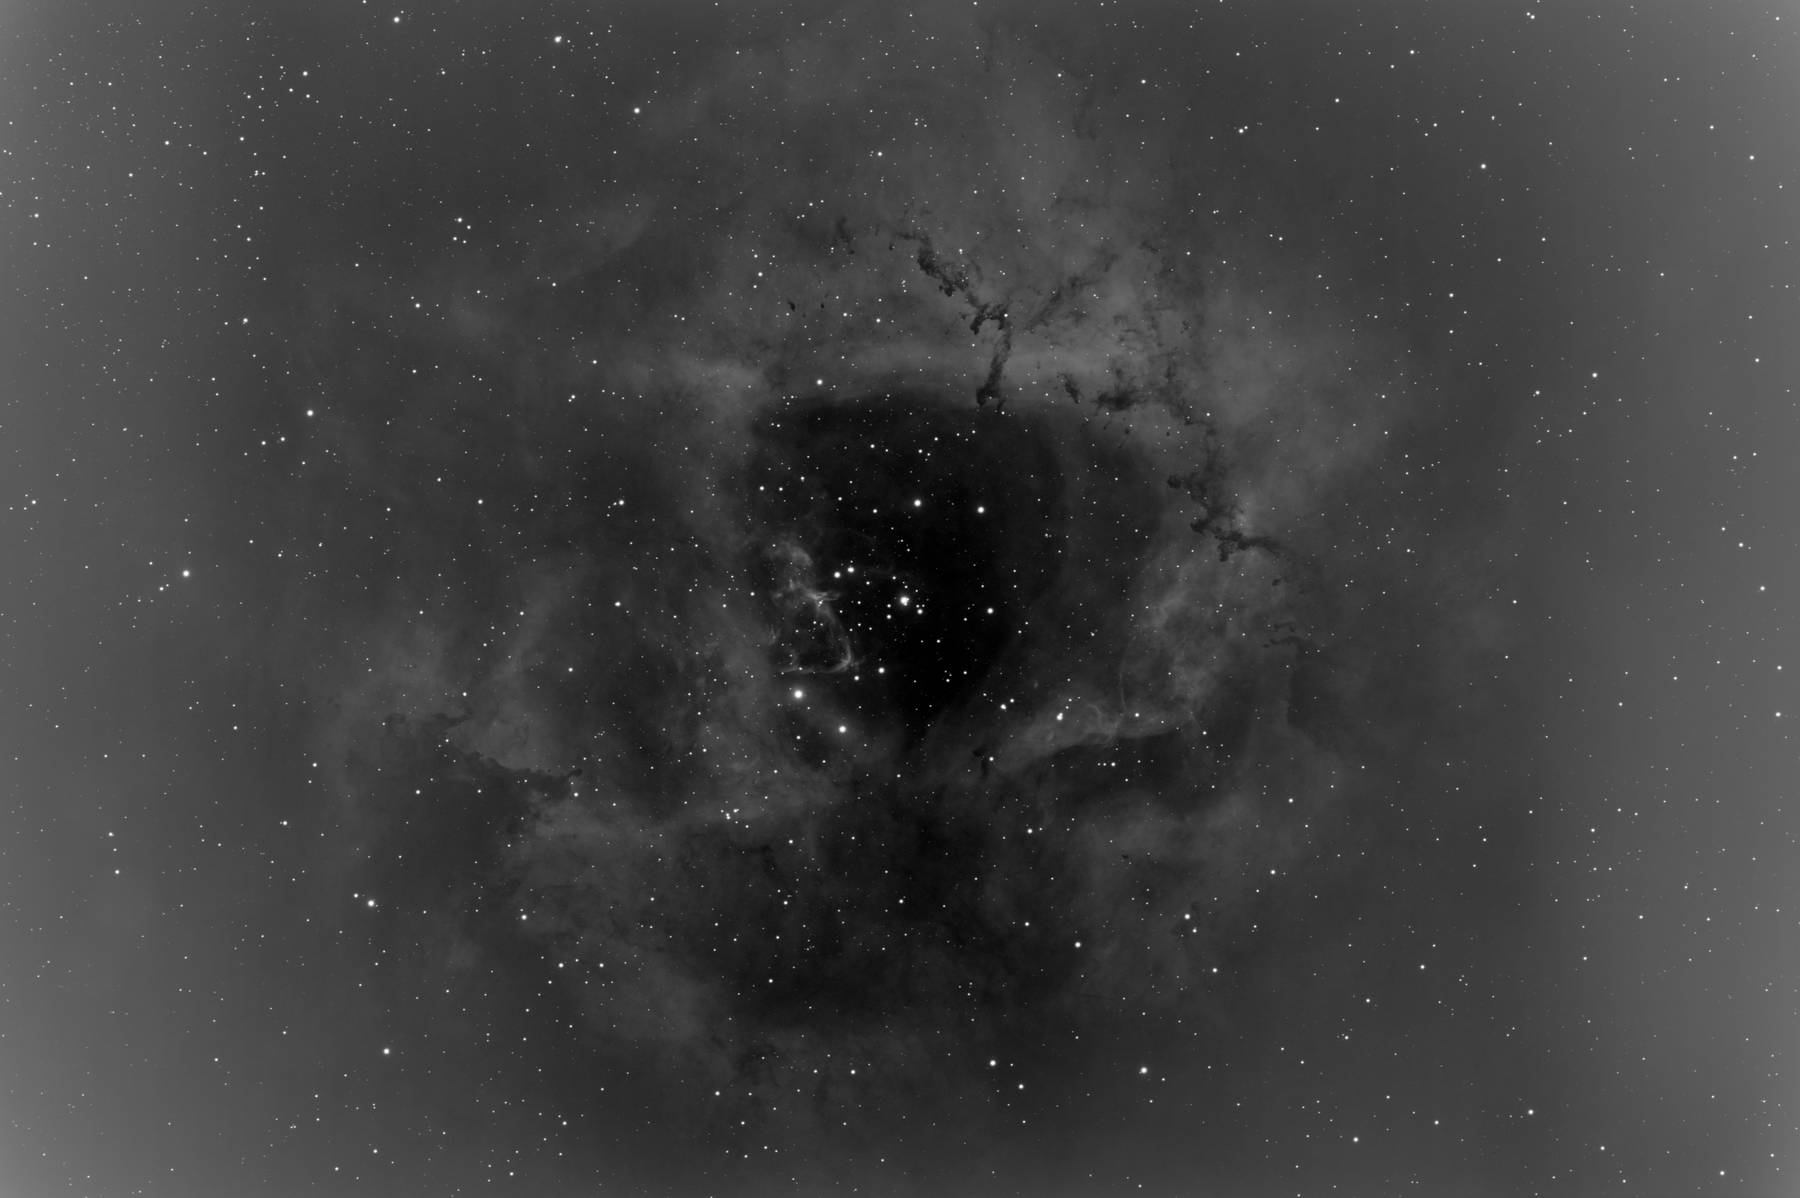
As I’m still fairly new to the hobby (even after 3 years!) I asked for help from a variety of groups, including the r/astrophotography folks. Everyone agreed on the issue being overcorrection from flats, but what most folks would not agree upon is why.
#Rebooting Calibration
Every setup is fairly unique, but calibration is somewhat the same. It involves taking a set of different exposures and calibrating against various noise patterns. I’m not going to pretend I can nail the math, but let’s just say it “subtracts” the noise and default light gradients. In reality what this looks like for a lot of astrophotographers:
- You take a set of “Light” photos - these are your actual exposures of the target, using whatever light filters you desire. Each of these in my case are often at least 5 minute exposures.
- A set of “Flat” frames are taken with a short exposure time, which are intended to identify vignetting and dust motes primarily. These basically look like gray frames (though are much more variable looking with narrowband filters). These are varying between 2s and 40s depending on the filter I use. These are taken every single imaging session.
- Bias frames are taken using an extremely low exposure time (e.g. ~0s) to capture the unique noise pattern of your camera. Alternatively you can see Dark Flats (give me a minute). These are taken once, or at least very irregularly (e.g. once a year).
Additionally there are two other types of calibration images you can use, which I however generally am not:
- If your camera has amp glow, you then want a set of frames called “Darks”. These are basically the same as the Light frames, so they’re 5 minute exposures, but the camera lens cap is covered. They should be a fairly solid pattern if your camera has no amp glow, otherwise you’ll spot it here. My camera does not have amp glow so I am generally not taking these. These are taken irregularly, such as once a year.
- If you believe in magic you can choose to take “Dark Flats” instead of Bias frames. These are just like Darks but for your Flats. That means they match the exposure time of your Flats, but again with the lens cap on. I also do not take these as I’ve seen no difference when testing, and the math suggests its also a waste of time. They’re also taken every single imaging session, so one more thing to deal with.
When all is said and done, you generally end up with a “Master” file for each calibration frame. That is, a calibrated image that may use other calibration frames, but stacks its set. For example, I take 50 flats, they get stacked and calibrated utilizing the Bias frame (aka some mathematical formula is applied on flats utilizing the bias frame data).
Hopefully you already understand this process - probably better than me - or if you don’t, you at least have some vague understanding now. This is important to know because its where debugging starts. In our case, the flats seem wrong, so we start looking into them.
#Debugging Flats
As someone who’s not super familiar with the mechanics, and equally intimidated by PixInsight, I resorted to my typical approach to software: bisect the issue. I started running re-calibration with various changes. After a second night of the same problem and confirming it wasnt due to any external factors (e.g. ambient stray flood lights), I decided to add in dark frames to see what would happen. I took a set of Darks and Dark Flats and applied both. Lo and behold, the gradient was gone!
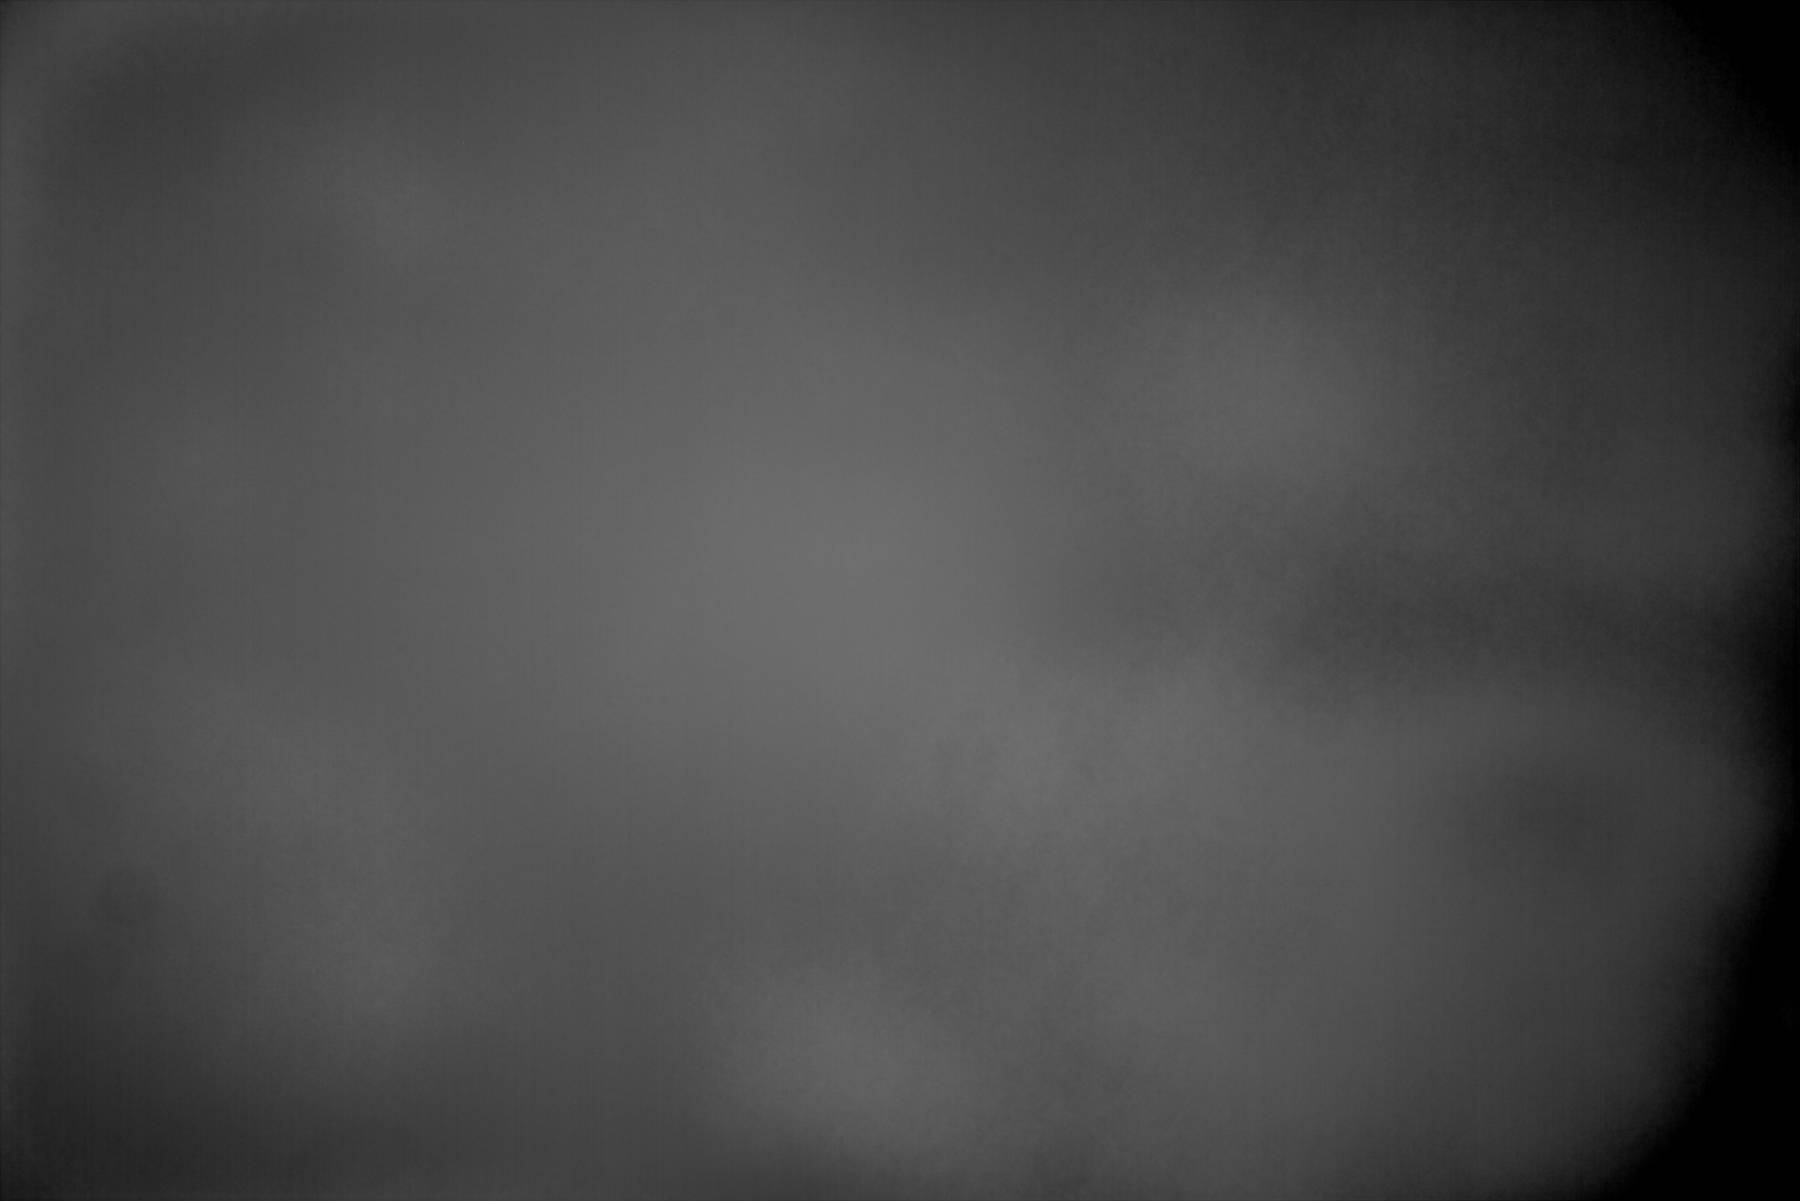
So I went back, removed Dark Flats, put my Bias back in - one theory was Bias could be failing to calibrate against Flats - and the gradient was still gone. When you look at the master Dark there is clearly a gradient, which is a good signal that there’s light bleed:
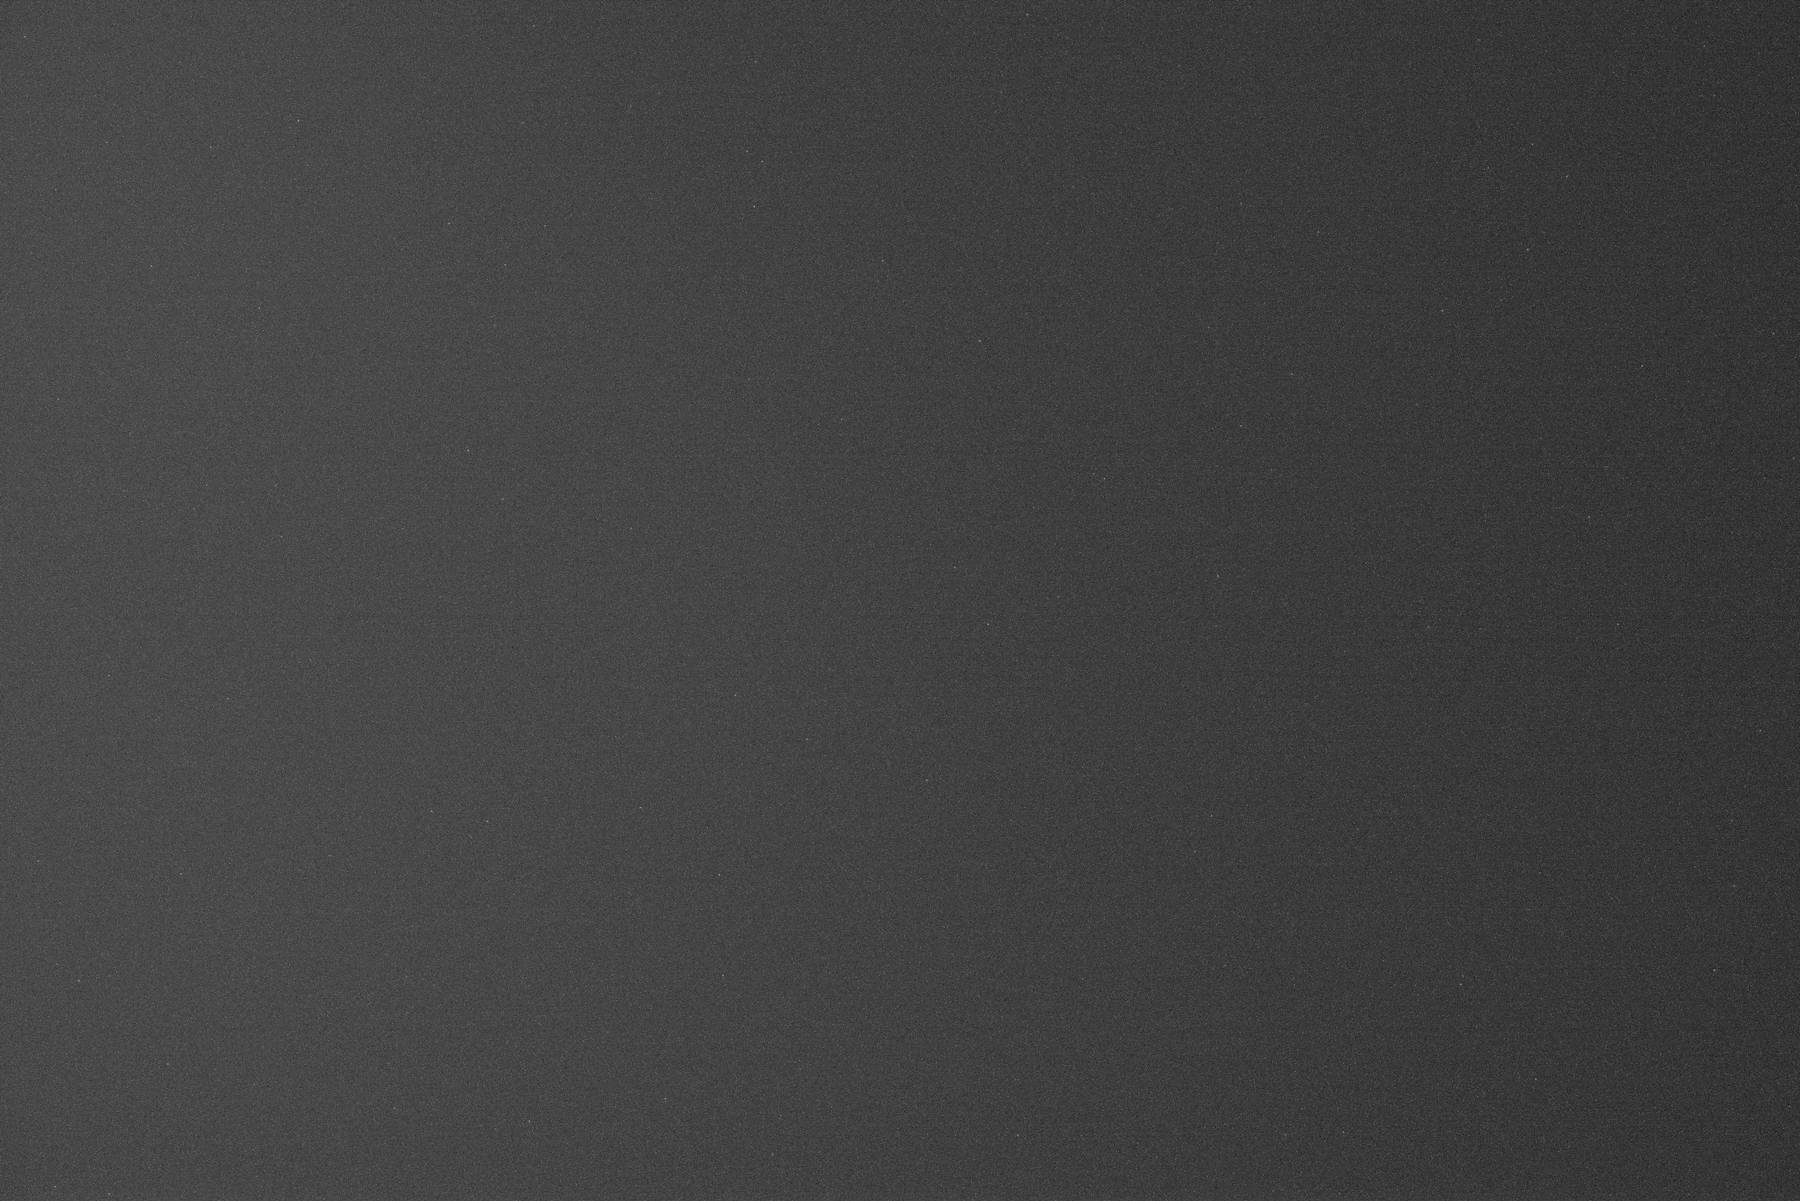
The time I spent debugging likely could have been saved if I had focused on the fact that it could have been an issue with stray light entering the camera sensor. To a trained eye its very clear that the corner light gradient should not exist:
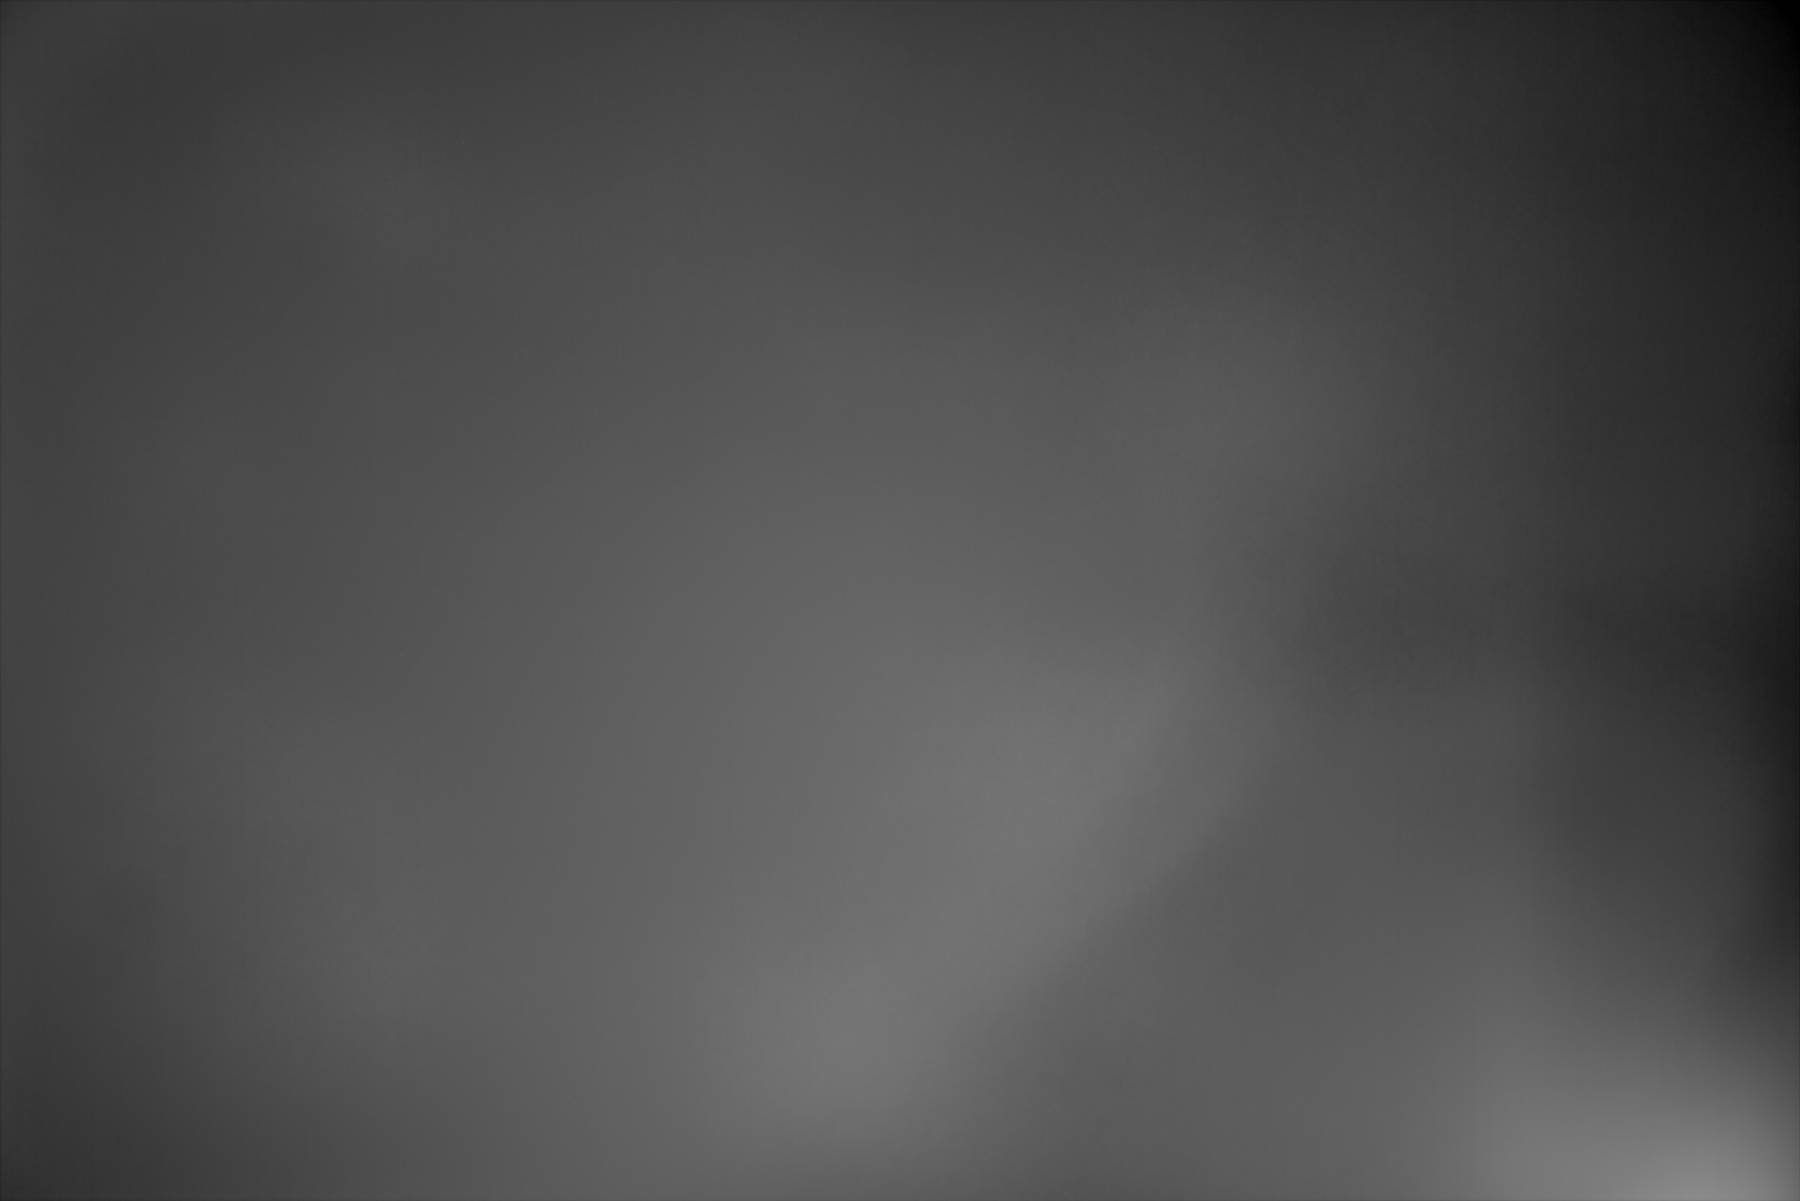
You will notice that this gradient is much more sharp than the original one. Why is that? Well there’s two things that changed to make this more obvious:
- It’s a different filter (S-II vs O-III)
- The exposure times are not equal
So with that, I took set NINA to loop a set of darks, and I took a flashlight to all of the edges of the imaging train.
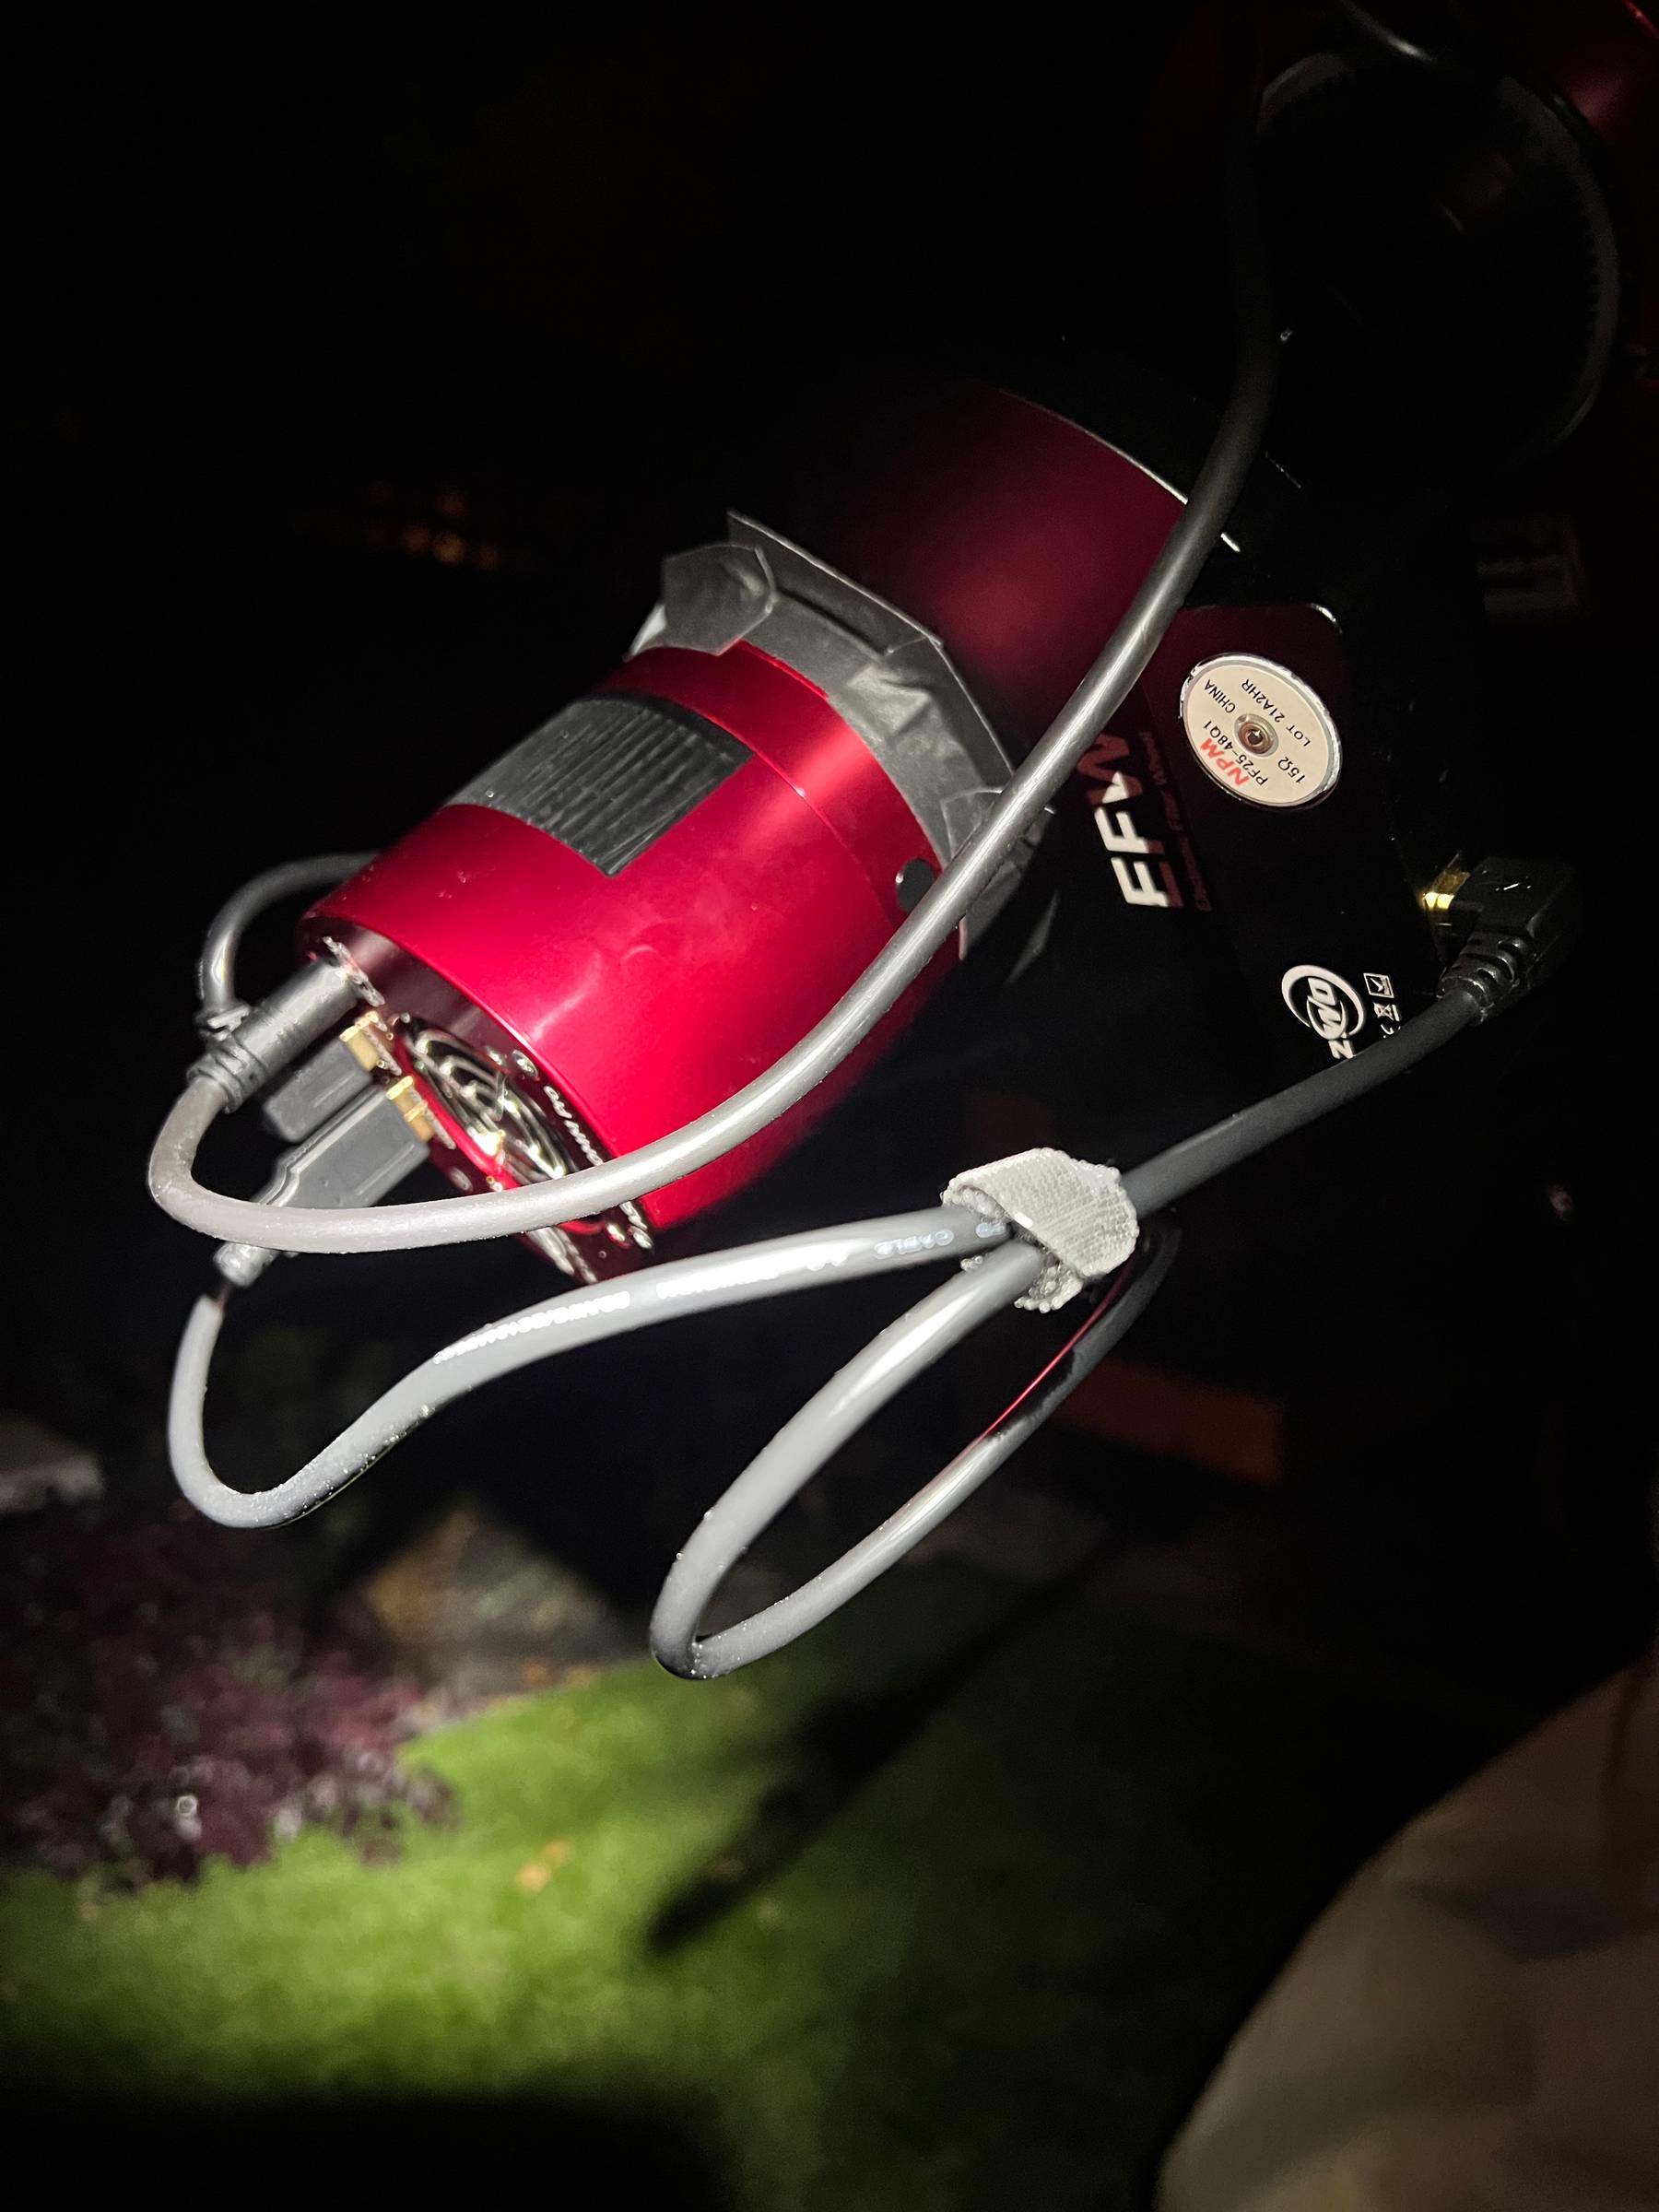
#Blame ZWO
While I had tried finding any sources of leak the night before, somehow I missed what turns out to be a common issue: the attachment point between ZWO’s EFW (Electronic Filter Wheel) and the camera itself. Unlike most of the other components, these are screwed to each other, whereas everything else is threaded on. The threading minimizes or completely removes the ability for light to come in. Two ~flat surfaces screwed together do not have those same properties.
So I brought out some tape and patched it up:
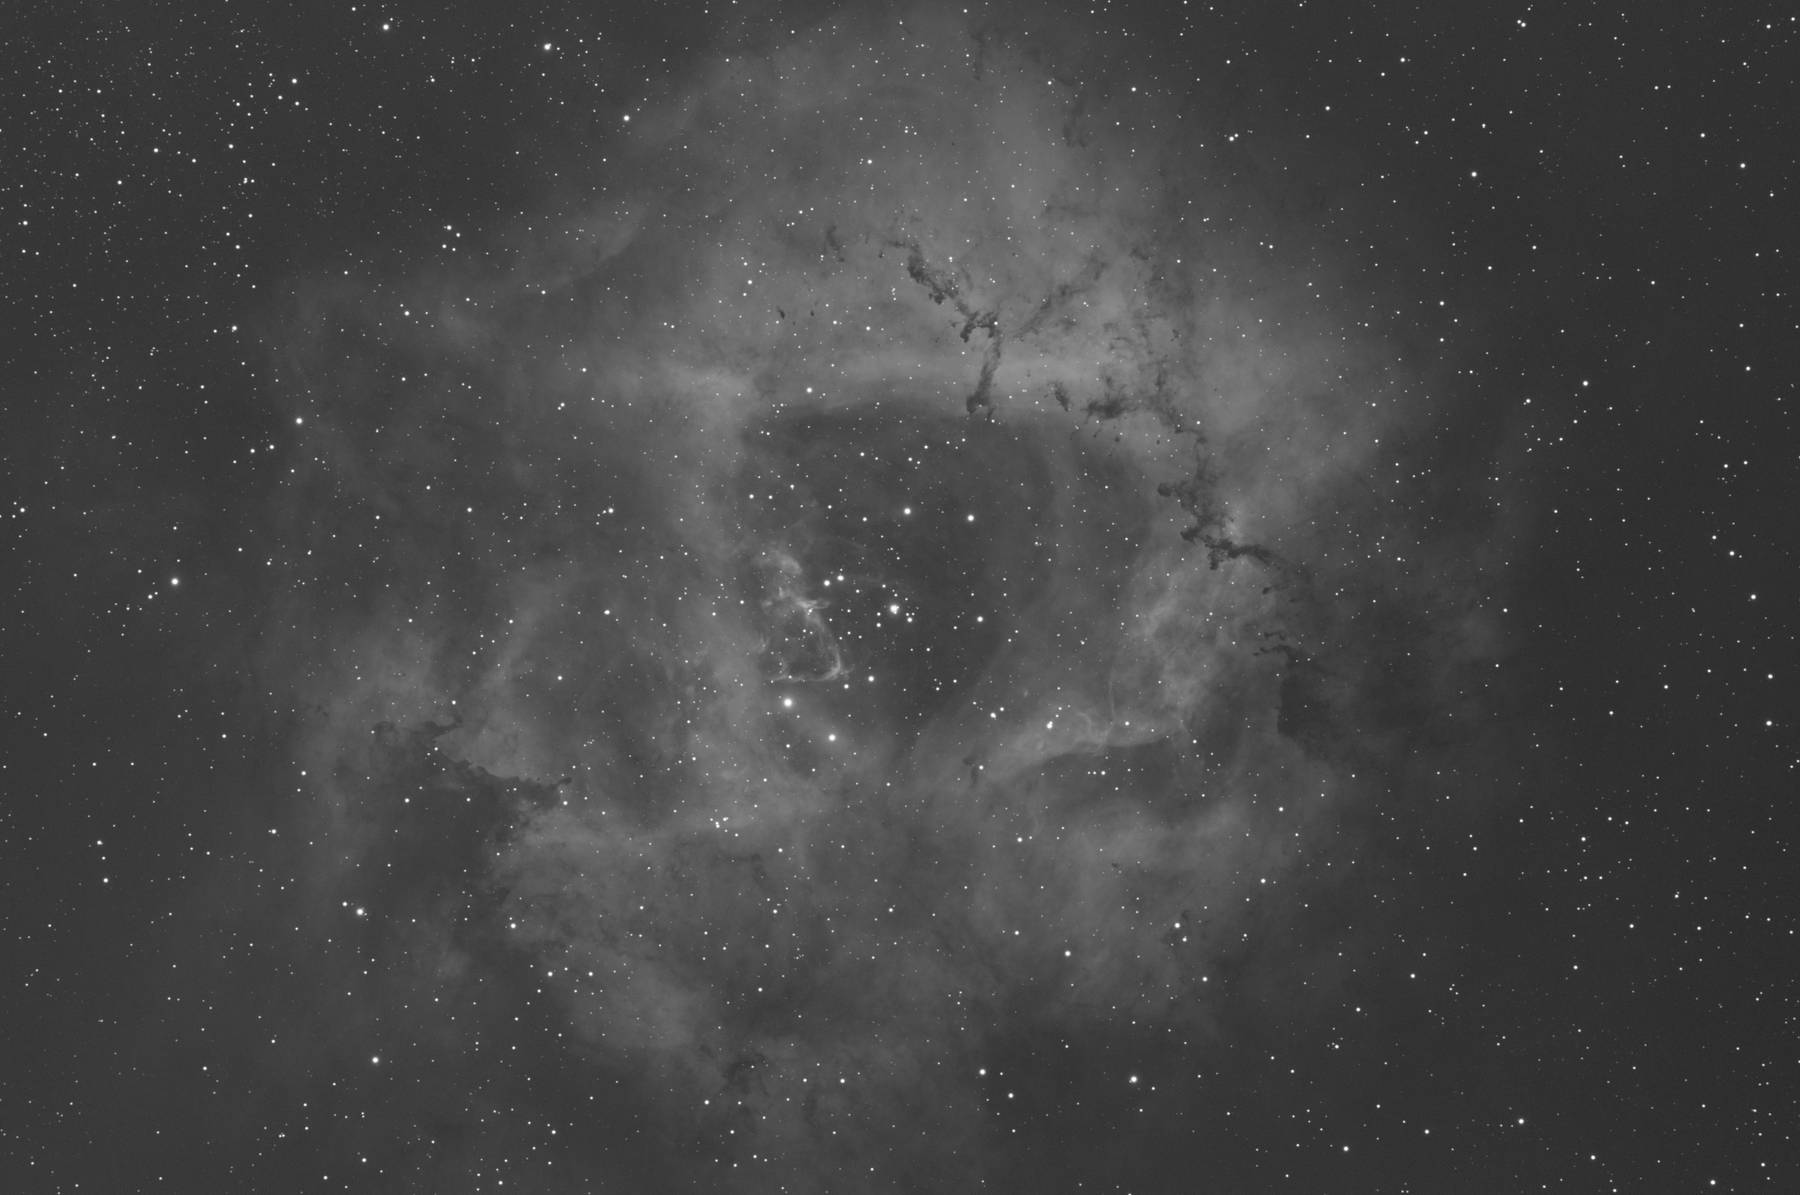
And the gradient is gone, you’re left with what is still a funky looking, but correct S-II flat:
What’s interesting is I had this exact same issue with my 6200MC! I just had completely forgotten about the problem, because you can often get away without the result dramatically affecting your image if you are using Darks (which I used to).
I’m hoping to print a plastic component to fully shield the seems, likely with rubber or felt to friction fit, and if so I’ll make sure that’s available to the community. For now the tape will survive at least a little while.